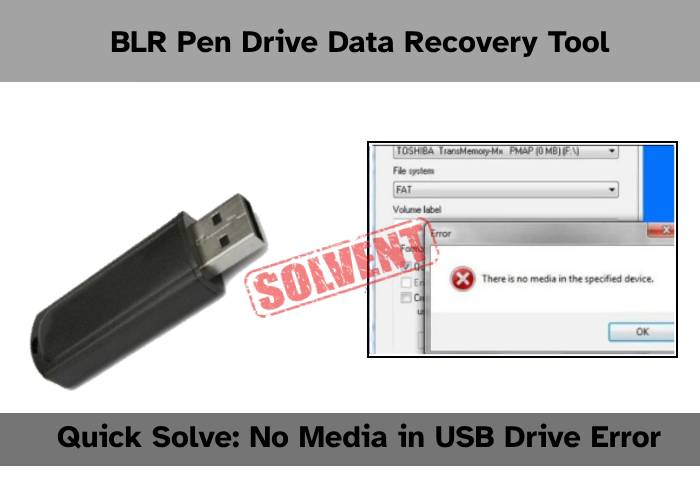
One of the most common problems USB drive users may have is the “No media” error. Therefore, continue reading if you encounter an error warning such as “there is no media in the device” or “there is no media in the specified device” when you connect your USB drive to your PC, or if Disk Management detects your drive as “USB drive shown no media” or doesn’t show it at all.
Let’s Read About USB Drive Shown No Media and Fixes/Solutions

There are several actions you can try to do to try to resolve the problem when a USB drive displays as “USB drive shown no media” or is not detected by your computer:
- To resolve this issue, try connecting the USB drive to a different USB port on your computer or to a new computer altogether. This assists in identifying whether the problem is unique to the USB port or computer that you are using.
- Verify Disk Utility (Mac) or Disk Management (Windows): Check to verify if the USB drive is detected but not mounted or given a drive letter by opening the Disk Management or Disk Utility applications in Windows or macOS. You can manually mount the disk or assign a drive letter if it shows up in the utility.
- Update your USB drivers: Device recognition problems may arise from outdated or incompatible USB drivers. Use a driver update tool or go to the manufacturer’s website to update the USB drivers on your computer.
- Modify the drive letter (Windows): In Disk Management, you can manually assign a drive letter if the USB drive has been recognized but has not yet been allocated one. To change the drive letter, right-click on the USB drive, select “Change Drive Letter and Paths,” and then enter a new one.
- Format the USB drive: You can do this if the device is still not detected and contains no crucial information. Prior to formatting, make sure you have a backup of any crucial files because it removes all data from the drive. In Disk Management (Windows) or Disk Utility (Mac), right-click on the USB drive and choose Format.
- Try using a new cable: There’s a chance that the USB cord attaching the drive to your PC is broken. To rule out problems connected to the cord, try using an alternative USB cable.
- Examine the USB drive and connector for any physical damage to ensure there is none. It may be important to seek advice from a professional data recovery agency if you observe any bent pins, damage, or loose connections.
- Try data recovery software: You can attempt file recovery with data recovery software if the USB device is recognized but you are unable to access the data. Numerous data recovery tools are available that can search the drive for missing or unreadable data.
In the event that none of these fixes work, a hardware malfunction with the USB drive might have occurred. For more help in such circumstances, it could be essential to speak with a reputable data recovery agency.
Download Free Trial Here BLR USB Drive NO Media Recovery Tool
What could be causing the USB drive to say “No media”?
‘USB drive shown no media’ detection on a USB drive typically means that there is a communication issue between the PC and the drive. More precisely, it could happen as a result of:
- Poor or slack connection;
- A broken, obsolete, or nonexistent USB driver;
- Infection by a virus;
- Corruption of the file system;
- A large number of defective sectors on the disk;
- Failed USB flash drive (caused by physical damage, normal wear and tear, etc.);
- Overloaded USB ports (occurs when a single PC has several USB drives linked to it);
- Turning off the USB device in the BIOS.
How to resolve USB drive “No media”
Let’s begin with simple and fast solutions. If none of them work, you can move on to somewhat more “advanced” methods. Simply give each one a try until you discover the one that fixes the issue.
- Verify that the USB device is securely placed into the USB port.
- If at all possible, attach the impacted device to a different PC to check if it is correctly detected.
- Use the relevant OS option to eject your USB device, then reconnect it.
- Consider connecting your gadget to a nearby USB port.
- After using an antivirus program to scan the impacted USB device, reconnect it.
Using Device Manager, enable USB
- Click Start, type Device Manager into the search bar, hit Enter, and choose this tool from the list.
- Look for your USB flash drive under USB Mass Storage in the Universal Serial Bus Controller section.
Look for an arrow or a red mark on it. In such case, right-click on it and choose Enable. It is implied that this option is already enabled if it is absent.
You could also see if the BIOS has the USB deactivated. To fix this, restart your computer, go into BIOS, choose USB Keyboard Support, and enable it if it’s currently displayed as disabled. After that, hit F10 to save the modification and leave BIOS.
Reinstall or update the relevant driver
Additionally, you can update and reinstall drivers using Device Manager:
- Launch this tool (see the preceding instructions). Locate the USB drive identified as “USB drive shown no media” in the list by clicking on Disk drivers.
- From the context menu, right-click on it and choose Update Driver Software.
Try the Uninstall option if this solution isn’t helpful. To force the system to reinstall the driver, next navigate to the Action tab in the Device Manager window and choose Scan for hardware changes.
Modify Disk Management’s USB driver properties.
1. Launch the disk management application. There are several methods for using this tool. The following are a few of them:
- Search for “disk management” using the taskbar field;
- Right-click on Start, then choose the relevant choice from the context menu that appears;
- press the Windows key + R to launch Run, type “diskmgmt.msc” in the dialog box, and press “OK”;
- Navigate to System and Security > Windows Tools > Computer Management in the Control Panel, then pick the appropriate option.
2. Right-click on the disputed USB drive in the Disk Management box and select Properties. Navigate to the Volume tab in the dialogue that has opened. Next, select Properties by clicking on the USB driver.
3. Click the Hardware tab in the ensuing box, choose the relevant USB device from the list of all disk drives, and then click Properties.
4. Next, click the Populate button and navigate to the Volume tab. Once all of the drive’s information has been found and shown, select OK.
Verify whether the USB drive shown no media issue has been resolved.
Modify the ‘No media’ drive’s letter
- Access Disk Management by using the previously mentioned procedures.
- Use the context menu to right-click on the disputed USB device and select Change device Letter and Paths.
- Select a new drive letter by pressing the Change button in the dialog box that opens.
- Click OK to make the adjustment.
WARNING: Please be aware that the two options that follow could result in the loss of all or some of the data that is now on your USB device.
To “fix” potential issues on your USB device, use CHKDSK.
1. Type cmd into the search bar, then select Run as administrator from the context menu by right-clicking on the Command Prompt icon.
2. Type chkdsk g: /f /r /x into the window that has opened (change “g” with the letter corresponding to your USB drive) and press Enter.
Check to see whether the USB drive shown no media issue has been resolved after the scanning is complete.
Format the USB flash disk that is impacted.
- Launch Disk Management (refer to the preceding comprehensive instructions).
- From the context menu that appears, right-click on the relevant drive in the list and choose Format.
- Select a file system, give your USB flash drive a letter, enable Quick Format, and press the Start button to begin the formatting process.
You might try using the BLR Tools data recovery tool to retrieve lost data after quickly formatting your USB device.
And if none of the aforementioned fixes resolve the issue and the drive continues to be identified as having “USB drive shown no media,” please get in touch with a BLR USB data file recovery team and experts online right once.
Try here free trial:


![How to Fix USB Constantly Connecting and Disconnecting? [Solved!]](https://www.blrtools.com/blog/wp-content/uploads/2025/02/Fix-USB-Constantly-Connecting-and-Disconnecting-800x600.png)

3 thoughts on “My USB drive shown as ‘No media’ How to fix it?”