
Read time: 5 Min
SD cards are an essential storage medium for modern digital devices like mobiles, cameras, tablets, and drones. SD cards are portable and can save a large amount of data. When users lose important files stored in the SD card for any reason, like accidental deletion, corruption, physical damage, or formatting, it is important to stop using the SD card first. The next thing the user should do is try to recover data from SD card before the data gets overwritten. Let’s learn the methods to recover deleted files from SD card, but first let us shed some light on various scenarios that lead to a data loss situation.
Scenarios Leading to SD Card Data Loss
This section mentions some of the common situations where users lose access to important data stored in the SD card. Here are some key cases that describe how users lose their data on SD memory cards:
- Accidental Deletion
- Damage or Corruption
- Accidental Formatting
- Malfunctions of the SD memory card loading (for example: card not found, card not recognized, etc.).
- Damaged or scuffed SD memory card
- Deletion from SD memory card till it’s permanent removal
Manual Methods to Recover Data From SD Card
As mentioned above, these are some of the most common data loss scenarios leading to SD card data loss you may come across. Generally, for most of the cases, there are many ways in which one can try to recover data files from SD cards. Here follows the list of some easy and simple methods to recover data from SD card.
Method 1: Assign a different drive letter to the SD memory card
When you connect an SD memory card to a computer, the computer sees it among the available storage with a drive letter. If your personal computer detects the SD memory card but cannot read from or write to this card, then you should consider assigning the new drive letter to the existing SD memory card. These are the step-by-step instructions to change the drive letter of the SD card on Windows 10/11.
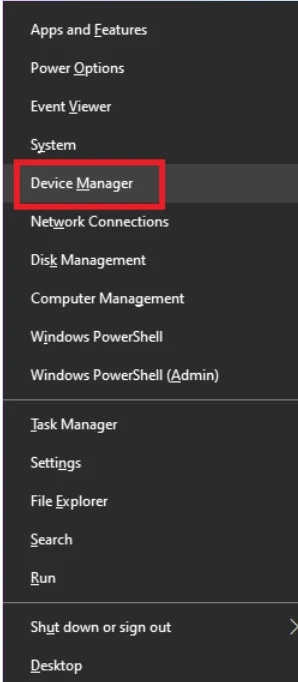
- To open the WinX menu, use the “Win + X keyboard” shortcut keys.
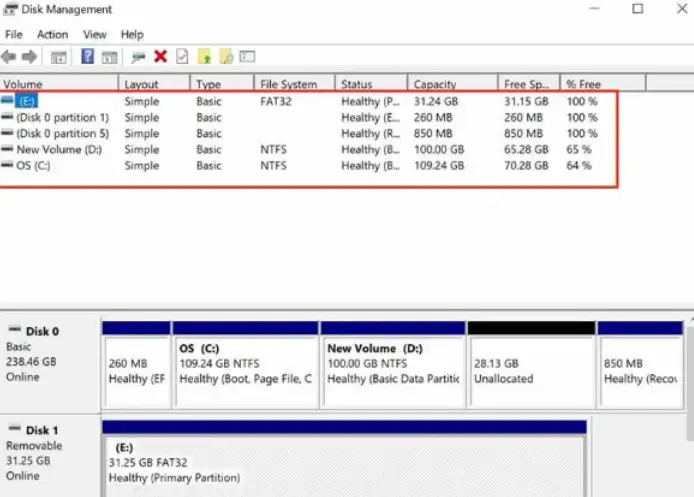
- To get to “Disk Management”, choose it from the available menu. All internal drives and the drives that are connected will be listed.
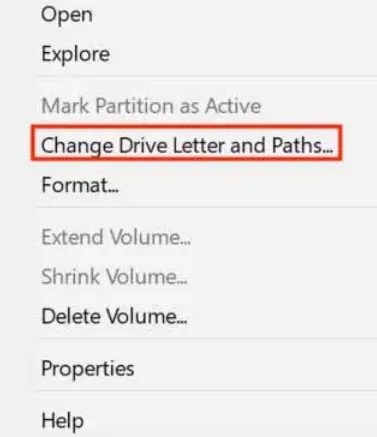
- Choose the SD memory card and then right-click on it.
- Choose “Change Drive Letter and Paths..”
- On the next screen that will open, please click “Change”.
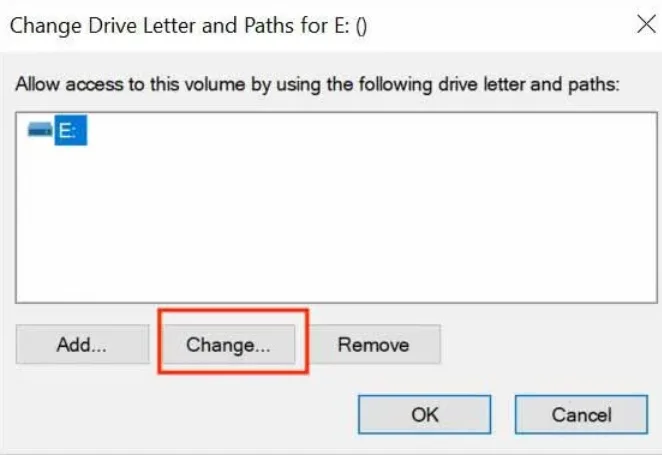
- Now, click the down arrow button provided beside the option Assign the following drive letter.
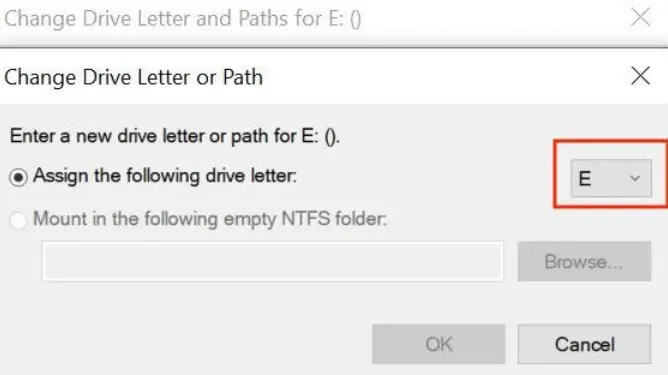
- Choose a new drive letter of choice from the list and press OK.
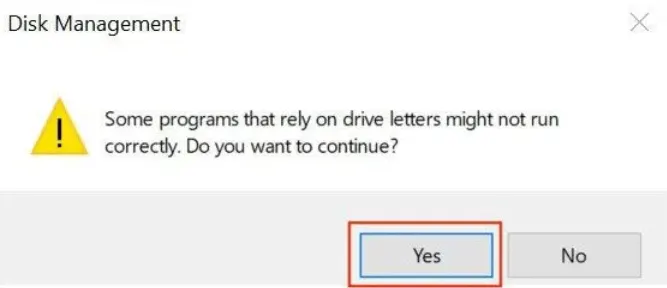
- You may receive a message that some applications, which depend on the drive letters, can work improperly. Click on Yes if you agree with the statement.
After that, the selected letter will be allocated by the system for the SD memory card when you confirm. The new letter is going to appear everywhere, and so should the SD memory card become available.
Method 2: Fix Attributes to Restore Hidden Files
Every file located on the SD memory card has some characteristics. These attributes describe how a file is to be used or opened. The files may become inaccessible or hidden whenever the file attributes become a problem. Please find below the steps for correcting the file attributes on a Windows PC.
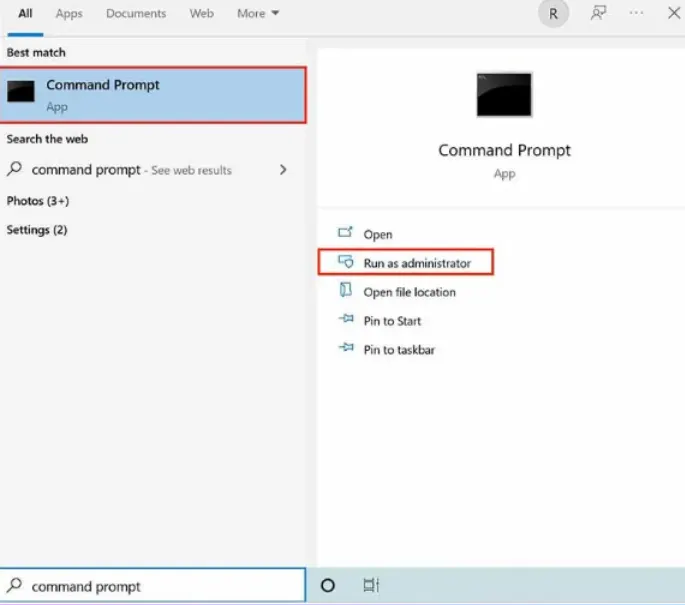
- In the Windows type Search bar, you need to type Command Prompt.
- Command Prompt will appear as the Best match. On the right side of the icon, click on ‘Run as administrator’ to open the Command Prompt with administrator privileges.
- In the Command Prompt, type the following commands attrib -h -r -s /s /d X:\*.* and press Enter. Replace X with your SD card drive letter.
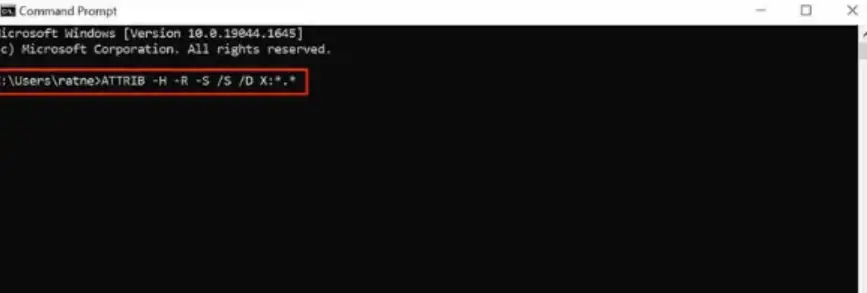
The above command will delete the dollar super share, set the file attributes, and unhide the hidden files.
Method 3: Execute Windows Error Checking Utility
Windows PCs have had an in-built error-checking mechanism for quite some time now. The tool scans for file system issues in a connected drive. You can use this tool on a PC in order to check whether the SD memory card has a file system issue or not. Below are the steps to run the error checking utility.
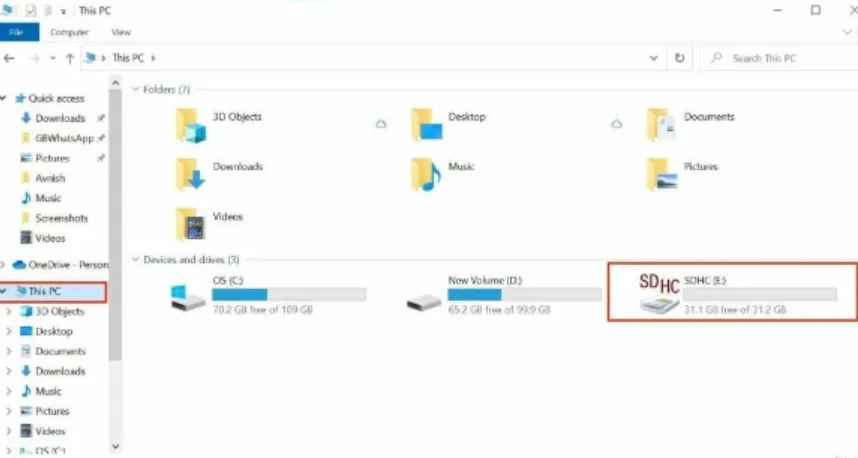
- Open Windows Explorer on a PC or a laptop.
- On the left side bar, right-click on This PC.
- A connected SD memory card will be listed under Devices and drives. Place the pointer over the SD memory card, right-click on it.
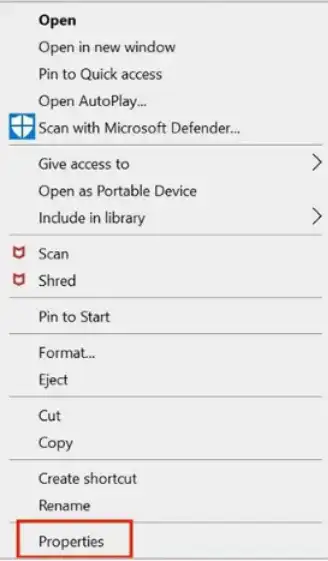
- To continue, go from the menu options to Properties.
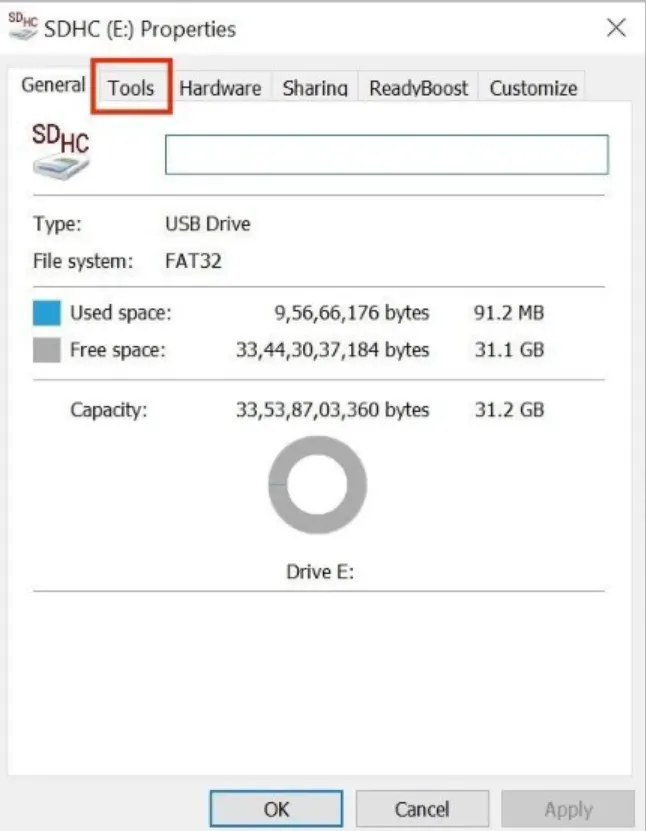
- In Properties, you most likely want to be on the General tab initially – get to the Tools tab.
- In the Tools tab, there will be an Error Checking menu. Tap the Check button under Error checking.
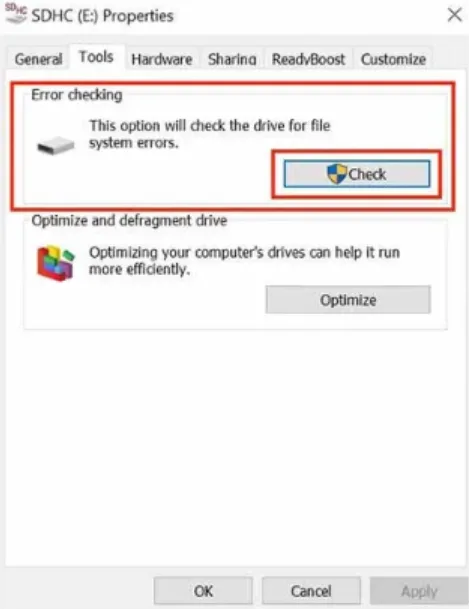
- The system will display whether there is an existing error in the SD memory card or not. If it won’t, then look for the Scan and repair drive selection.
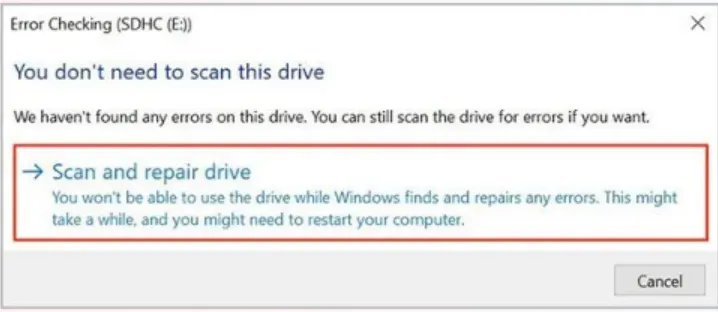
Now, the Windows operating system will search for various errors existing in the SD memory card and fix them. In the meantime, the SD memory card will be unusable. Depending on the size of the card in SD memory, the process may take some time to finish. If needed, you may need to restart the PC or Laptop.
Method 4: Scan SD Memory Card with CHKDSK Tool
If the Windows Error Checking tool did not find an issue, you can run CHKDSK command to check the SD memory card for errors. It is now time to let you know how to use CHKDSK to scan an SD memory card.
- Search for the command prompt.
- On the right side of the window, click the option Run as administrator.
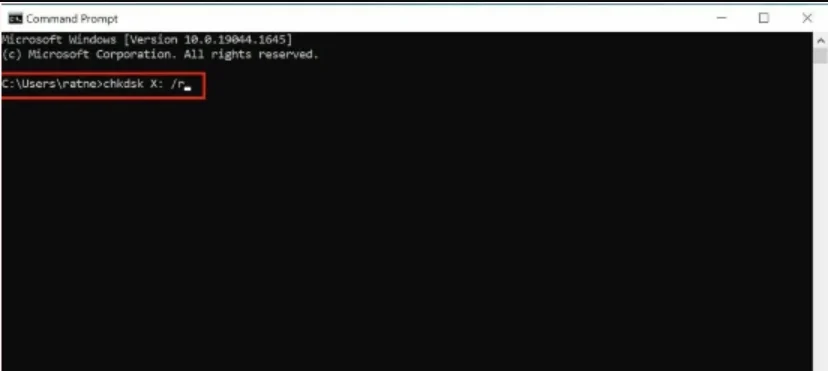
- Open the Command Prompt window and, in the opened window, type in the following line: Do not forget to set X to the name of the assigned SD memory card.
chkdsk X: /r
Method 5: Update Drivers for SD Memory Card
Like every other program and connected device, an SD memory card also needs drivers to interact with the operating system. And if you have an error on an SD memory card, you need to update the SD memory card drivers.
- To open the WinX menu, press the Win + X key on the keyboard.
- On WinX keys, choose the option Device Manager.
- In the Device Manager, right-click in the list and select Portable Devices.
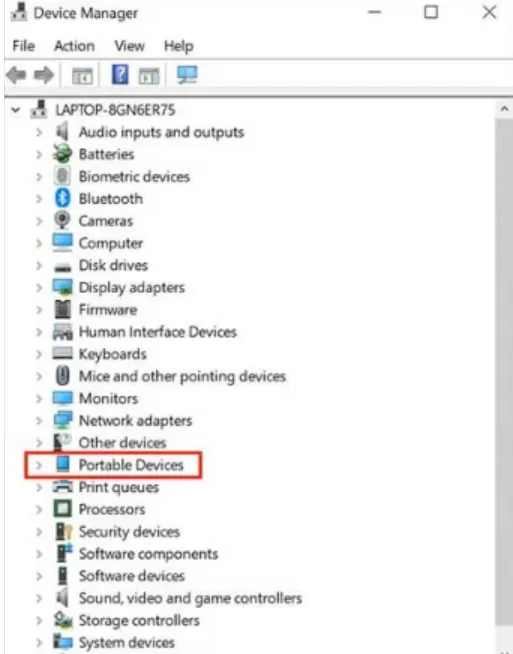
- Here you will see the SD memory card—Using the right mouse button, click on the SD memory card.
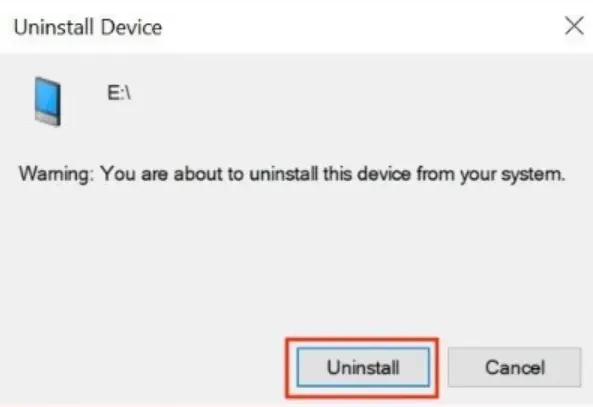
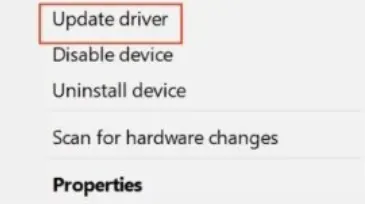
- Context menu now displays on screen automatically. From among the options of the menu, select the update driver.
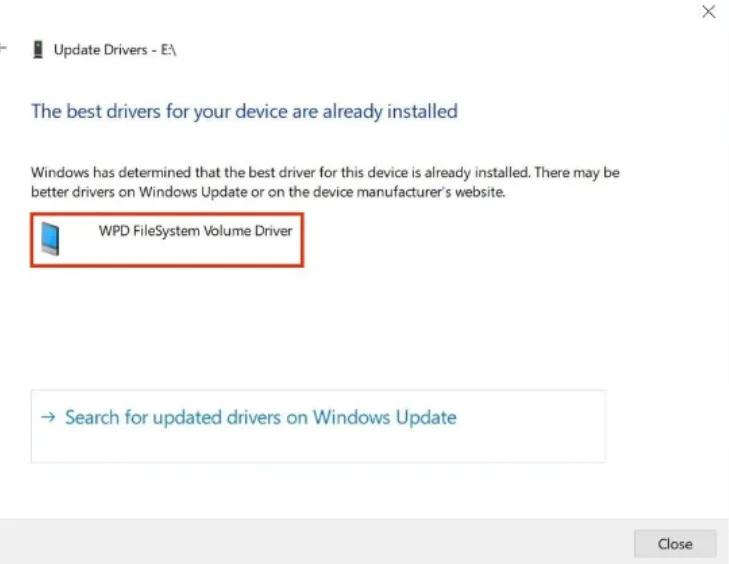
- Now the text and the drop-down menu are displaying “How do you want to search for drivers?” Select Search automatically for drivers.
- The system will begin a search for updates. If a new version of the driver is released. It should be downloaded and installed.
Automated SD Card Recovery Software – Simply Recover Data
In case none of the above-mentioned manual tricks work out for you and you still cannot recover your data, then it is time to use SD memory card recovery software. When it comes to selecting the right SD memory card software, you will come across many great software programs online. However, none of them can match BLR Data Recovery Toolkit. In fact, I can confidently say that it is the best SD card recovery software I’ve encountered for recovering data from SD cards. Why do we say so? The software has been seen to be effective in recovering deleted photos, videos, and other files from an SD memory card.
Speaking of the features, it is worth mentioning that SD card recovery software supports files in any number of formats. BLR Pen Drive Data Recovery software can help you recover motion file formats like Mp4, Mov, etc., motion picture and audio formats. While the software helps you get back lost photos & videos on SD memory cards, it can also help recover lost data on HDD, latest SSD, 4K Hard drives, and even encrypt SD cards. Alternatively, if you would like to rescue a particular type of file, you can input that as well. It supports Windows 11,10,8,7 operating systems and many storage devices. .

Final Words
Losing important data is always frustrating, but most of the times user can recover data following the right approach. The first step in the recovery process is to stop using the SD card to increase the chances of recovery. We have discussed 5 methods that can help users to recover data from SD card. Follow the instructions carefully and recover lost data efficiently.